
How much does a basic bikepacking gear setup cost?

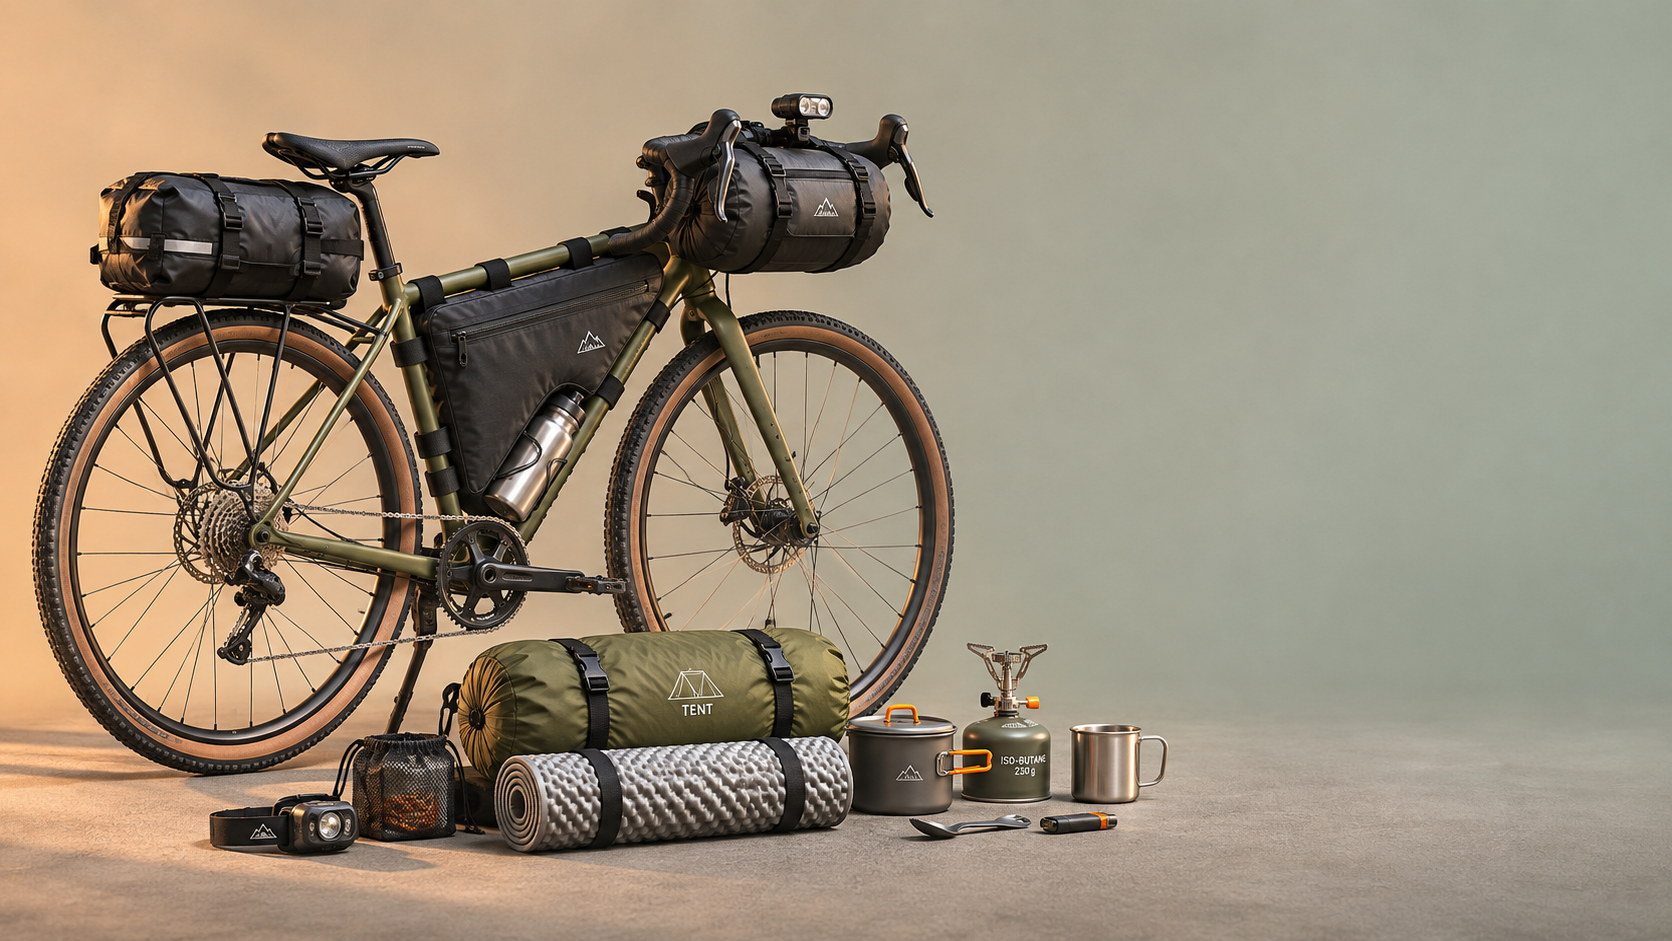
Planning your first overnight ride? Understanding the bike packing gear price can help you build a practical setup without overspending. If you already own a suitable bike, a basic kit—including bags, a shelter, a sleeping system, and cooking essentials—may cost around $300 to $800, depending on what you already have and whether you buy new or used. This guide breaks down the main costs, explains where to save, and helps you choose gear that fits your route and riding style.
That range is a planning estimate, not a promise that every item will be inexpensive at the same time. A rider borrowing a tent and using existing camping equipment may spend much less. Someone buying everything new for cold, wet conditions can easily spend more. The figures below are approximate U.S. dollar retail prices; local availability, seasonal discounts, shipping, and taxes can change the bill.
What goes into a basic bikepacking budget?
For a mild-weather overnight trip, these ranges are a useful starting point. They assume you already have a bike, helmet, suitable clothing, and footwear. They do not include food, campsite fees, transport, or major bike repairs.
The individual ranges add up to roughly $300–$890 if every category must be purchased. Staying within $800 generally means choosing some lower-cost items, borrowing, or reusing equipment. Water treatment, lights, a power bank, and a rain layer may add to the total if they are needed and not already in your cupboard.
Bags: buy for the bike you have
A full set of matching bikepacking bags looks tidy, but it is rarely the cheapest way to carry an overnight kit. A dry bag secured to the handlebars, a small frame bag, and a seat pack may be enough. If your bike already has a rack, a pair of existing panniers can work well on a route with wider, smoother tracks. You do not need to replace usable luggage simply because it is marketed for touring rather than bikepacking.
Fit matters more than the number of liters printed on a label. Check that a handlebar roll clears the front tire when the fork compresses and does not interfere with brake or shift cables. A large seat pack needs room between the saddle and rear tire; smaller frames and dropper posts can make that space tight. Frame bags should leave enough access to bottles or give you another practical way to carry water.
Pack light, bulky items such as a sleeping bag toward the bars or saddle, and keep dense items low and close to the center of the bike where possible. Before buying a larger bag, try packing what you already own. A bargain bag that rubs your legs or sways on rough ground can be more frustrating than a smaller, better-fitting one.
A note on carbon frames
ACMD’s focus on lightweight materials is relevant here: a carbon frame is not automatically unsuitable for bikepacking, but its mounting and contact limits deserve attention. Follow the frame and accessory manufacturers’ guidance, particularly for fork mounts, racks, and clamping. Protect contact points from grit, keep straps clean, and check them during the ride. Protective tape can reduce abrasion; it does not turn an unsupported mounting point into a load-bearing one.
Shelter and sleep: spend according to the forecast
The shelter is often the biggest single purchase. An entry-level backpacking tent can be perfectly adequate for a first trip, provided it handles the expected conditions and fits on the bike. Check the packed length of the poles, not just the total packed volume: a tent that fits in a backpack may be awkward across narrow handlebars. Poles can sometimes be packed separately, as long as they are secured and kept clear of moving parts.
A tarp can cost less and pack smaller, but it requires more judgment about pitching, wind direction, site selection, and insect protection. For a beginner facing uncertain weather, an enclosed tent may be worth the extra bulk. Sharing a suitable two-person shelter with a riding partner can reduce both cost and the amount each person carries.
Do not judge a sleeping system by the bag alone. The pad separates you from the ground, so a warm bag paired with an inadequate pad can still make for a cold night. When comparing pads, look for an insulation rating such as R-value where one is provided, and consider the expected ground conditions. Sleeping bag temperature labels also need interpretation: check whether the stated figure describes comfort or a lower survival-oriented limit, and allow for your own tendency to sleep cold.
Synthetic insulation is often a sensible budget choice, though it can be bulkier than down. Down can save space, but pricing, fill quality, construction, and care requirements vary. For a summer trip close to home, borrowing a suitable bag may be smarter than buying an expensive lightweight model before you know how often you will use it.
Cooking, water, and the costs people forget
A small stove, pot, spoon, and fuel can cover simple meals. Confirm that the stove and fuel are compatible and available near your departure point. Fuel prices and availability vary, and some places restrict stove use during periods of elevated fire risk. Check the rules for your actual campsite rather than assuming that a permitted camping area allows every type of stove.
Cooking is optional. On a short route with reliable shops and a campsite nearby, cold food may let you leave the stove at home. That saves money and space, although it shifts some spending to prepared food. For a remote route, make sure your meal plan still works if a shop is closed or the ride takes longer than expected.
Water needs the same route-specific thinking. Bottles may be enough where refill points are frequent and dependable. Elsewhere, you may need extra carrying capacity and a treatment method appropriate to the water source. Check the treatment product’s instructions and limitations; do not assume that a clear stream is safe to drink untreated.
Also set aside money for the unglamorous items: a spare tube that fits your wheels, tire levers, a pump, a multitool suited to your bike, lights if you might ride in darkness, and any campsite or transport charges. Tubeless riders should still plan for a puncture that sealant cannot fix. If you need a new rain jacket or the bike needs a chain and brake service, those costs sit outside the basic camping estimate.
Three sensible ways to build a kit
Spend as little as practical for a first overnight
Borrow a shelter and sleeping equipment, use existing luggage, and pick a mild-weather route with nearby services. Your main purchases may be straps, a dry bag, and repair supplies. This approach can fall below the $300 estimate, but only because some equipment is already available. Inspect borrowed gear, practice pitching the shelter, and make sure you can operate the stove before departure.
Build a dependable starter setup
The $300–$800 range is more realistic when you combine budget-friendly new gear with equipment you own or buy secondhand. Put enough money into a weather-appropriate shelter and sleep system, then choose bags that carry them securely. This may not be the lightest setup, but on a short trip, a few extra pounds are usually less troublesome than a poor night’s sleep or luggage that moves around.
Pay more to reduce bulk or cover harder conditions
Compact insulation, a lighter shelter, and more specialized bags can push the bill above $800. That may be worthwhile if your frame has limited storage space, you ride technical trails, or you expect colder conditions. Buy the capability you need, though, rather than paying a premium just to remove weight from an otherwise unsuitable setup.
Should you buy used bikepacking gear?
Used gear can make a meaningful difference to the total cost, especially for a first trip. Bags, pots, and shelters are worth considering if you can inspect them. Look for damaged zippers, worn straps, torn seams, missing tent poles, and sticky or deteriorating coatings. Ask whether a shelter has been stored dry, then pitch it and check it before relying on it in rain.
Be more cautious when damage is difficult to see or safety depends on the item’s history. A heavily compressed sleeping bag may have lost loft, while an inflatable pad can hide a slow leak. Inflate the pad and leave it long enough to check it holds air. Avoid a used helmet if you cannot establish its condition and history; follow the manufacturer’s replacement guidance for any helmet you already own.
Does your bike need upgrades before the trip?
A reliable bike with gearing, tires, and brakes suited to the route is more valuable than a new drivetrain chosen for its specifications. Before departure, check tire condition, brake performance, chain wear, wheel condition, and whether the loaded bike shifts cleanly. A local mechanic’s inspection may be a better use of money than an electronic shifting upgrade.
A loaded bike changes how hills feel. If the easiest gear is already difficult on your usual climbs, test it with luggage before assuming it will work off-road. A gearing change may be possible, but compatibility depends on the existing drivetrain; get the components checked before ordering parts.
For an e-bike, account for the combined weight of rider and luggage, the manufacturer’s load limits, battery range under the intended conditions, and reliable charging opportunities. Assistance can make a loaded climb easier, but range varies with terrain, support level, temperature, and load. Confirm that e-bikes are permitted on the specific roads and trails you plan to use.
Make one purchase decision after a test pack
Lay out everything needed for the actual forecast, including water and food, and pack it on the bike. Ride a familiar hill and a short rough section. Check for tire clearance, rubbing, loose straps, awkward handling, and whether you can reach essentials without unpacking everything.
That test will show where the next dollar belongs. If the bike handles well but the sleeping bag fills every available bag, a more compact sleep system may be the useful upgrade. If luggage shifts or touches a tire, fix the carrying system before buying lighter camping gear. For a first trip, the best-value setup is the one that stays secure, keeps you adequately warm and dry, and leaves enough in the budget for the ride itself.
Related News