
Bicycle Derailleur Components: Common Wear Points and Fixes

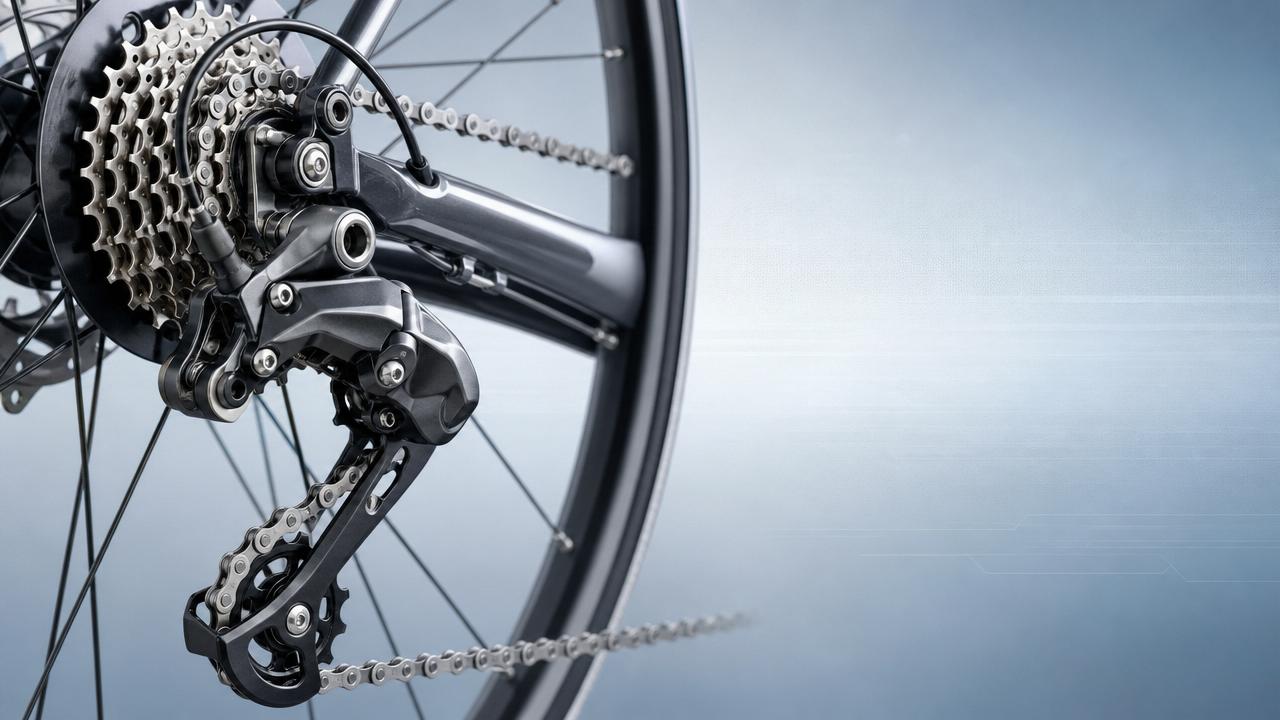
Bicycle Derailleur Components are among the most failure-prone parts in any performance drivetrain, especially under heavy use and inconsistent maintenance. For after-sales service work, fast diagnosis matters. A structured inspection method helps restore shift accuracy, cut repeat failures, and extend drivetrain life without replacing good parts too early.
Why a Checklist Works for Bicycle Derailleur Components
Modern Bicycle Derailleur Components operate under dirt, chain load, impact, and alignment stress. Small wear can create large shifting errors. Random troubleshooting often misses root causes.
A checklist keeps inspection consistent across road bikes, e-bikes, gravel builds, and commuter fleets. It also supports better service records, clearer warranty decisions, and smarter parts replacement.
For technical intelligence platforms such as ACMD, this approach reflects a broader industry trend: precision drivetrain service now depends on measurable condition checks, not guesswork.
Core Inspection Checklist for Common Wear Points and Fixes
- Check derailleur hanger alignment first. Even a minor bend shifts the derailleur cage off-plane and causes poor indexing, hesitation, and chain noise across multiple sprockets.
- Inspect guide and tension pulleys for tooth hooking, side play, and seized bearings. Worn pulleys often mimic cable problems and reduce chain tracking accuracy.
- Measure chain wear with a gauge before adjusting anything else. An elongated chain accelerates cassette and pulley wear and makes precise shifting nearly impossible.
- Examine cable tension, housing compression, and contamination on mechanical systems. Friction inside old housing creates delayed shifts, ghost shifting, and inconsistent return spring action.
- Test derailleur spring force by shifting through the full range under load. Weak return springs struggle on dirty bikes and hide deeper fatigue in older units.
- Confirm limit screw position and B-tension setting. Incorrect adjustment can force overshifts, pulley-to-cassette contact, noisy climbing gears, or chain drop near wheel spokes.
- Inspect cage plates for twist, crash marks, or rivet looseness. A visually subtle cage distortion often causes repeat misalignment even after careful indexing.
- Clean pivots and check for excessive play in linkage joints. Worn pivots reduce lateral accuracy and are a common end-of-life sign in Bicycle Derailleur Components.
- Verify cassette tooth condition, especially on heavily used gears. Shark-fin wear patterns can make a healthy derailleur appear faulty during loaded shifting tests.
- Update firmware and battery charge on electronic systems. Many electronic shifting complaints come from low power, connection faults, or outdated shift logic.
Fast Fixes That Usually Solve the Problem
- Realign the hanger with a proper gauge before replacing the derailleur.
- Replace pulleys when teeth sharpen, bearings bind, or side wobble becomes visible.
- Install new chain and reassess cassette compatibility before fine tuning indexing.
- Renew cable and housing as a set when friction or corrosion appears.
- Reset limit screws and B-gap to the drivetrain manufacturer specification.
- Lubricate pivots lightly after cleaning, but avoid contaminating pulley bearings and braking surfaces.
Scenario-Based Notes for Real Workshop Conditions
High-Mileage Commuter and Fleet Use
On commuter bikes, Bicycle Derailleur Components usually suffer from contamination rather than crash damage. Road salt, rainwater, and infrequent cleaning raise cable drag and pivot stiffness quickly.
In these cases, replacing housing, chain, and pulleys often brings better results than repeated barrel adjuster corrections. Service time falls when wear is treated as a system issue.
Performance Road and Gravel Riding
Performance setups demand tighter tolerances. Slight hanger misalignment, cassette wear, or cage twist becomes obvious under high cadence and cross-chain use.
Gravel riding adds dust and impact exposure. After any tip-over, inspect hanger alignment and cage straightness before touching indexing. Adjustment cannot compensate for bent hardware.
E-Bikes and High-Torque Drivetrains
E-bikes place heavier torque through Bicycle Derailleur Components, especially during poorly timed shifts. Chains elongate faster, pulley teeth wear sooner, and cassettes develop hooked profiles early.
Here, preventive replacement intervals matter more than cosmetic condition. Always inspect for chain stretch and cassette bite before blaming electronic or mechanical shift hardware.
Commonly Missed Risks
Mixed Wear Across the Drivetrain
A new derailleur cannot fix an old chain on a worn cassette. Mixed-condition parts create misleading symptoms and often trigger repeat complaints after a short riding period.
Invisible Hanger Damage After Transport
Bike transport, storage knocks, and workshop handling can bend the hanger without obvious external marks. This is one of the most overlooked causes of poor rear shifting.
Over-Lubrication and Dirt Build-Up
Too much lubricant attracts abrasive grit around pulleys and pivots. The result is faster wear, sticky linkage movement, and contamination that disguises true component condition.
Ignoring Software on Electronic Systems
Electronic Bicycle Derailleur Components also fail through communication errors, setup drift, and low battery state. Mechanical inspection is essential, but digital checks must be part of the workflow.
Practical Execution Advice
Start every job with a clean drivetrain. Dirt hides tooth wear, pulley movement, and fine cracks around the cage and body. A five-minute cleaning step improves diagnosis quality.
Follow a fixed order: hanger, chain, cassette, pulleys, cable or battery, limits, then indexing. This sequence prevents wasted adjustment time and reduces unnecessary part swaps.
Road test under load whenever possible. Bicycle Derailleur Components may shift well on a stand but fail during torque application, especially on steep gears and e-bike systems.
Record measured chain wear, hanger correction, replaced parts, and final settings. Consistent data improves future service decisions and supports higher technical standards across mobility workshops.
Conclusion and Next Step
Bicycle Derailleur Components reward precise inspection and punish guesswork. Most shifting faults come from a small group of wear points: hanger alignment, chain elongation, pulley wear, cable friction, pivot play, and incorrect setup.
Use the checklist above on every service case. Inspect in sequence, confirm wear with tools, and fix root causes before making fine adjustments. That approach improves drivetrain reliability, reduces repeat repairs, and keeps high-performance mobility systems operating at their intended standard.
Related News